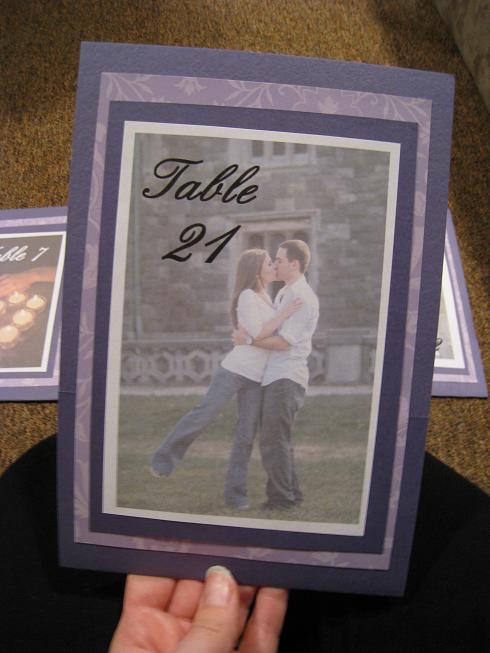
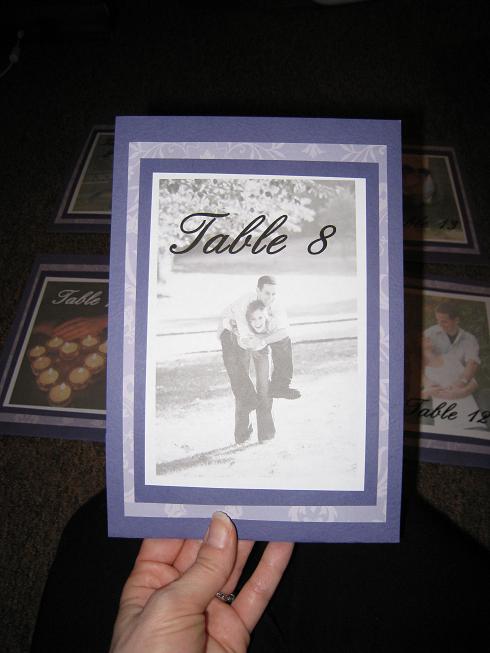
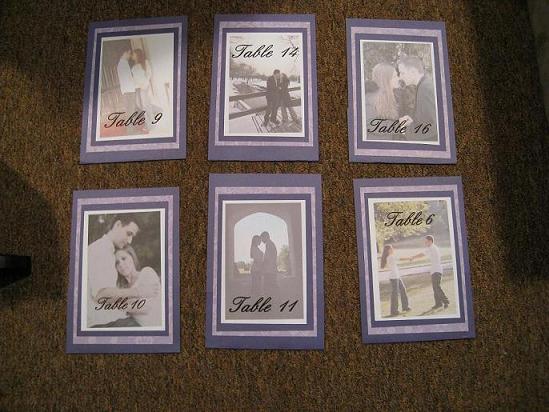
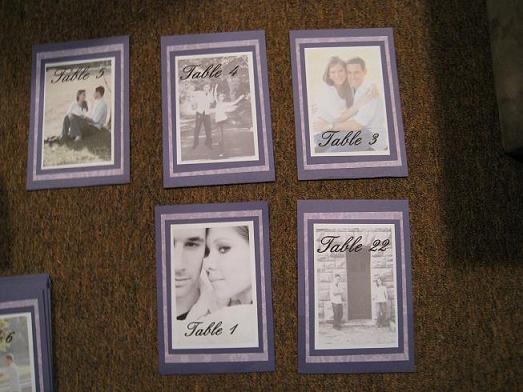
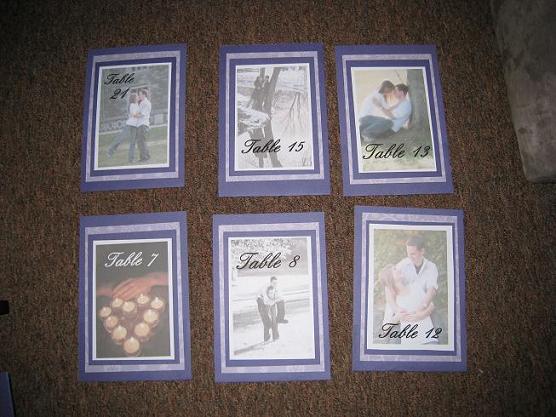
i used the lavendar patterned paper and purple cardstock for my menus and programs as well. Now everything will be coordinating! YAY! all the numbers are not there yet as i ran out of cadstock
wow...im very very impressed everyone looks perfect. great pictures also!! nice job nad congrats on something off the list!
Browneyesncute
Posted:
Member since
Re: i did my table numbers WITH PICS
sooooooooo nice!!! lol i should pay u do to mine
Ilovebriani
Posted:
Member since
Re: i did my table numbers WITH PICS
thanks! we are hoping to just stick them in the stands that the RH provides. they are pretty sturdy, and they have the same thing on both sides so depending on where people are sitting they can still see the pic. it was actually fun making them
TGs Lady 22908
Posted:
Member since
Re: i did my table numbers WITH PICS
They look great!!
SB7308
Posted:
Member since
Re: i did my table numbers WITH PICS
They came out great!!!
How did you get the picture lighter than the #s??
Ilovebriani
Posted:
Member since
Re: i did my table numbers WITH PICS
someone on here posted directions once..i did it in powerpoint. let me see if i can find the directions
anneandchris
Posted:
Member since
Re: i did my table numbers WITH PICS
They came out great!!!!!!!!!
Ilovebriani
Posted:
Member since
Re: i did my table numbers WITH PICS
okay....i forget who posted these directions b/c i jut copy and pasted them into a word file, but whoever it was i hope they dont mind that i am pasting them into this thread...here are the directions
Ok, I opened Powerpoint. - New document - File, Page Setup - Changed the page size to 20 x 28 inches (**this is 4 times the 5x7 size they will actually be printed as - this is so that the quality remains as high as possible when I save it as a jpg file**) - Click OK - Then Insert Image you want to use - Double click image (brings up Format Picture window) - In the 'Size' tab, changed the height to 20 inches *VERY IMPORTANT: Make sure the 'Lock Aspect Ratio' box IS CHECKED* - Now the picture fits perfectly up and down, but may be too big horizontally. - Crop the left or right (or both) side until it's 28 inches. - Now the image is the same size as your Page Setup.
To make the image lighter: - Double click image (Format Picture window opens) - In the 'Picture' tab, click on the arrow for 'Color' - Choose 'Washout' - Click OK - IF the image is too light, go back into Format Picture and INCREASE the Contrast by 10 and DECREASE the brightness by 10.
To add text: - Insert WordArt - Play with fonts, colors, and size to achieve the look you want for the wording.
ETA: Ok so I forgot to add the last step - how to save the file as a picture.
When you are done with making the file (and as you are working on it), save your file.
Once you're finished and happy with the way the picture looks, you need to save it as a jpg file. To do this, go to File, Save As, and in the 'File Type' change it to 'JPG' and save it again as a jpg. It's going to ask you to save all slides or just the current slide - if you click to save all files, it will save each slide that you have in the file as a jpg - each file will be automatically saved in a new folder.
So now you have the files saved as individual jpg files. What I plan to do is to upload the jpg files to Kodak Gallery or Shutterfly and to order 5x7 prints of each - that way I'll have actual pictures and don't have to worry about buying photopaper and printing them myself. But I'm sure you could do that if you
JeanetteandSteve
Posted:
Member since
Re: i did my table numbers WITH PICS
they are awesome!!!!!!!!!
mariaobride
Posted:
Member since
Re: i did my table numbers WITH PICS
you did an amazing job- very creative and I love the colors
futuremrsfab
Posted:
Member since
Re: i did my table numbers WITH PICS
they look great!
SB7308
Posted:
Member since
Re: i did my table numbers WITH PICS
Thanks!!
GinaBambina08
Posted:
Member since
Re: i did my table numbers WITH PICS
love them!
MrsQ-in2007
Posted:
Member since
Re: i did my table numbers WITH PICS
Posted by Ilovebriani
okay....i forget who posted these directions b/c i jut copy and pasted them into a word file, but whoever it was i hope they dont mind that i am pasting them into this thread...here are the directions
Ok, I opened Powerpoint. - New document - File, Page Setup - Changed the page size to 20 x 28 inches (**this is 4 times the 5x7 size they will actually be printed as - this is so that the quality remains as high as possible when I save it as a jpg file**) - Click OK - Then Insert Image you want to use - Double click image (brings up Format Picture window) - In the 'Size' tab, changed the height to 20 inches *VERY IMPORTANT: Make sure the 'Lock Aspect Ratio' box IS CHECKED* - Now the picture fits perfectly up and down, but may be too big horizontally. - Crop the left or right (or both) side until it's 28 inches. - Now the image is the same size as your Page Setup.
To make the image lighter: - Double click image (Format Picture window opens) - In the 'Picture' tab, click on the arrow for 'Color' - Choose 'Washout' - Click OK - IF the image is too light, go back into Format Picture and INCREASE the Contrast by 10 and DECREASE the brightness by 10.
To add text: - Insert WordArt - Play with fonts, colors, and size to achieve the look you want for the wording.
ETA: Ok so I forgot to add the last step - how to save the file as a picture.
When you are done with making the file (and as you are working on it), save your file.
Once you're finished and happy with the way the picture looks, you need to save it as a jpg file. To do this, go to File, Save As, and in the 'File Type' change it to 'JPG' and save it again as a jpg. It's going to ask you to save all slides or just the current slide - if you click to save all files, it will save each slide that you have in the file as a jpg - each file will be automatically saved in a new folder.
So now you have the files saved as individual jpg files. What I plan to do is to upload the jpg files to Kodak Gallery or Shutterfly and to order 5x7 prints of each - that way I'll have actual pictures and don't have to worry about buying photopaper and printing them myself. But I'm sure you could do that if you
Yay, those are my instructions! So happy they helped you! Everyone seemed to love mine at the wedding, but I have to say I think yours look fab! I only did one layer of cardstock behind the picture, but yours have more depth with the different shades of purple.
zoe282
Posted:
Member since
Re: i did my table numbers WITH PICS
Wow they look great! I am sooo not creative! although I will be doing the pictures like that I am not sure I could do the matting you did..nice job!