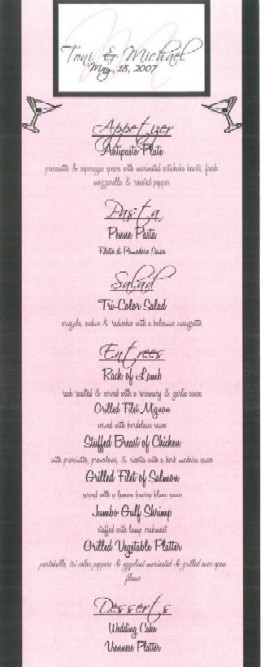
Menu instructions

Choose two colours of paper that match your theme and print the wording for your menu on one of the papers. The length will depend on the amount of the wording you have for the menu, but can be approximately 3¼ by 8 inches.
Cut the second coloured paper 3¾ by 8½ inches in size.
Wrap a 5/8 inch satin ribbon around the back of this piece of paper bringing the ends of the ribbon to the front of the paper. Glue the two ends down towards the middle of the paper.
Glue the piece of paper with the menu printed on it on top, covering the ends of the ribbons.
Put a couple of menus at each table and watch as your guests take in each mouth watering dish!

Print your menu information on a piece of paper 8 inches wide by 4¼ inches high.
For the cover, take a piece of 8½ by 11 inch cardstock and print “Menu” 2 inches from the bottom of the paper.
Starting from the bottom of the paper, crease and fold the paper at 3½ inches and at 8¼ inches leaving 2¾ inches at the top for the bottom flap of the menu and a 1½ inch overlap. The word “Menu” should now be situated on the front flap of the folded paper.
Open the folded paper and glue the page with the menu printed on it between the two crease lines.
Fold the top and bottom flap down and punch a hole ¾ of an inch from the sides and ¾ of an inch deep, in the left and right corner of the top flap.
Weave a 5/8 inch satin ribbon through all four holes and tie a bow to hold the menu closed.

Purchase a patterned cardstock
Cut to 5½ x 11 inches and fold in half into a square to create a tent shape. If you have a lot of information for your menu you can make it a different shape to accommodate more wording.
Print the wording for your menu on cardstock 5 by 5 inches in size. Glue the cardstock on the patterned tent backing.
Place two or three of these menus at your reception tables.

Fold 4½ by 13½ inch pieces of platinum paper in three sections by creasing and folding the paper at 4½ and 9 inches.
Print the menu title page and menu on three 4 by 4 inch pieces of paper and glue onto the front and inside panels of the tent backing.
Rhinestones can be added for some extra shine.