UPDATED: DIY Signs w/ supply info & 'how to' (p.2)
Original post by HamptonsBride
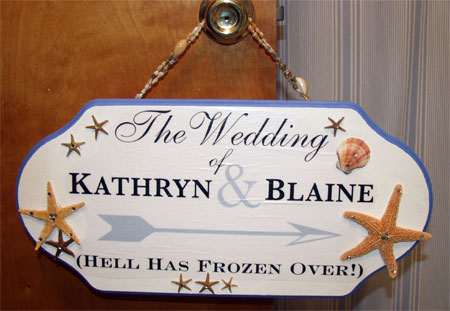
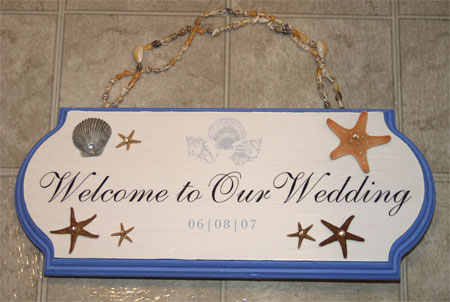
So when i met with Laura at LA Productions she had this cute sign that said 'Wedding' hanging in her office...it inspired me to make my own..the larger one will go at the driveway entrance to the RH and the smaller welcome one will be at the entrance to the lawn area. (FH wanted something fun on on the sign so I added the Hell has frozen over for him..a theme we used on our engagement announcements..since we've been together over 5 years now..haha..we are not very formal or serious people )
Here's the supply info & basic 'how to' since many asked
What you need.
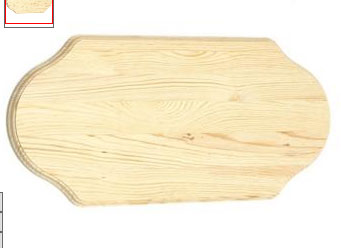
1.) Unfinished wood plaque...bought mine at AC Moore for about $12
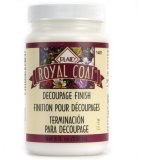
2.) Decoupage finish & small brush to apply it. Popsicle stick or round pencil to smooth it out while it is wet.
3.) Acrylic paint to for the wood...can get at Michaels/AC Moore
4.) Assorted sea critters also available at Michaels/AC Moore..and rhinestones hot glued to them as final decoration.
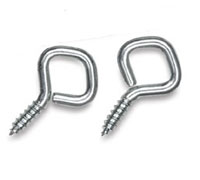
5.) Small eye hook screws to attach the seashell necklace string to the back..can get in framing department at Michaels/AC Moore.
6.) Seashells on string..Michaels/AC Moore in area where they sell other shells & beachy stuff
First i painted the sign all white...then did the blue trim to make it look nice. Let it dry a day or two.
Then i printed out my design on legal sized paper using a color laser printer...(not sure if an inkjet would run when the decoupage is applied)
Cut the paper to the sign size using an exacto knife.
Applied the decoupage stuff to the sign...positioned my paper where i wanted then applied a layer of decoupage OVER the paper. The paper will start to wrinkle and bubble a bit so then take your popsicle stick or round pencil and lightly rub it over the paper to smooth out the wrinkles...and re-apply a bit more decoupage over that. When that dried I applied a second coat.
Next screw the eyehooks on the back, near the top of the sign and evenly spaced so the sign doesn't flop forward or hang crooked. Thread the seashell necklace thru the small opening of the eyehook.
Now you can add all the starfish & shells to the front with a hotglue gun...i added rhinestones to them for a little bling...HTH!!!